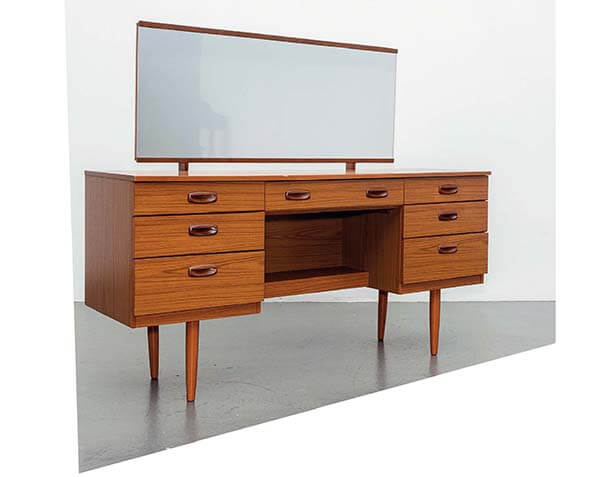
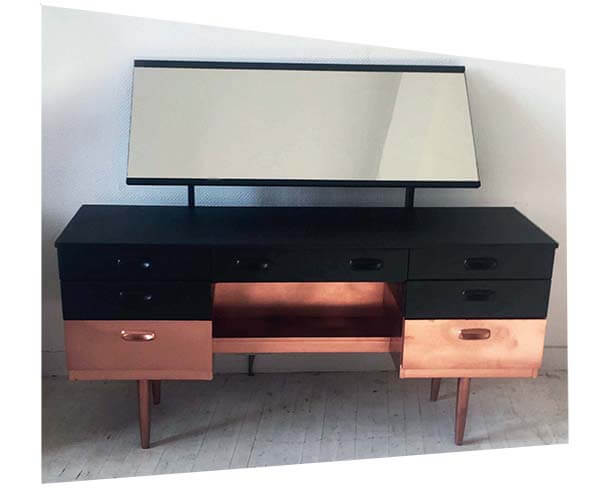
Here’s how to apply a chic dipped copper look to a piece of furniture.
We’ve chosen a 70s dressing table to upcycle with this technique, but you can apply this process to other types of furniture.
You’ll need:
- A mini sponge roller
- Clean paintbrush for varnishing
- Water-based varnish
- 2 x tins of copper spray paint
- Black chalk paint or black emulsion and chalk paint powder
- Medium grit sandpaper
- Sugar soap
- Sponge
Step one: Clean
You’ll need a nice surface to work on so grab some soapy water and get scrubbing. Sugar soap is best but hot soapy water also does the trick. Try using a sponge with an abrasive edge (like you get for washing up) to get the stubborn bits off.
Step two: Prep
If your furniture is veneered, like this one, then use an electric sander with medium-grit sandpaper to give the piece a key – a slightly rough surface that helps the paint stick well. You can sand it by hand if you don’t have an electric sander or borrow one from a tool library.

Step three: Paint
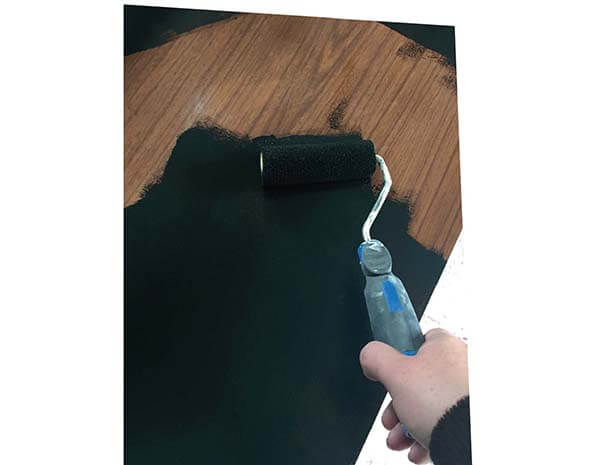
Now it’s time to apply the black chalk paint. Using a mini roller gives a flatter finish which is more flattering with this type of shape. Two coats should be enough, with touch-ups.
Step four: Varnish
Paint or roll on at least two coats of varnish to seal the paint.
Step five: Mask
Next, there’s a bit of prep work for the spray painting. Use old plastic bags, magazine pages or newspaper to cover up the parts you don’t want to be sprayed and mask well to get clean lines – it's important to do this well as spray paint with over-spray a fine mist of colour.

Step six: Spray paint
Grab your copper spray paint and shake the can well. Using sweeping motions from side to side, spray your furniture. Do thin coats, letting it dry in between, and build it up to avoid drops.
And finally...
Admire your work! Let us know how you get on by tagging @HowToWasteLess and #ReuseStuff on social media.

This upcycling project was originally completed as part of our Design Doc series with help from Shauna Gray and Sophia Steele formerly of Treemendus.

