At this time of year, the supermarket shelves are laden with plastic pumpkins, reams of fake spider webs, light up skulls and other dastardly decorations.
These are often made from non-recyclable materials that end up being chucked in the bin after use. Instead, make your neighbours green with envy by creating your own DIY decorations.
There are a tonne of ideas online and we’ve been busy testing out some of our favourites at Zero Waste Scotland HQ below.
Supermarket shelves are laden with plastic pumpkins, reams of fake spider webs and other dastardly decorations that end up being chucked in the bin after use. #WasteLessHalloween
Share on
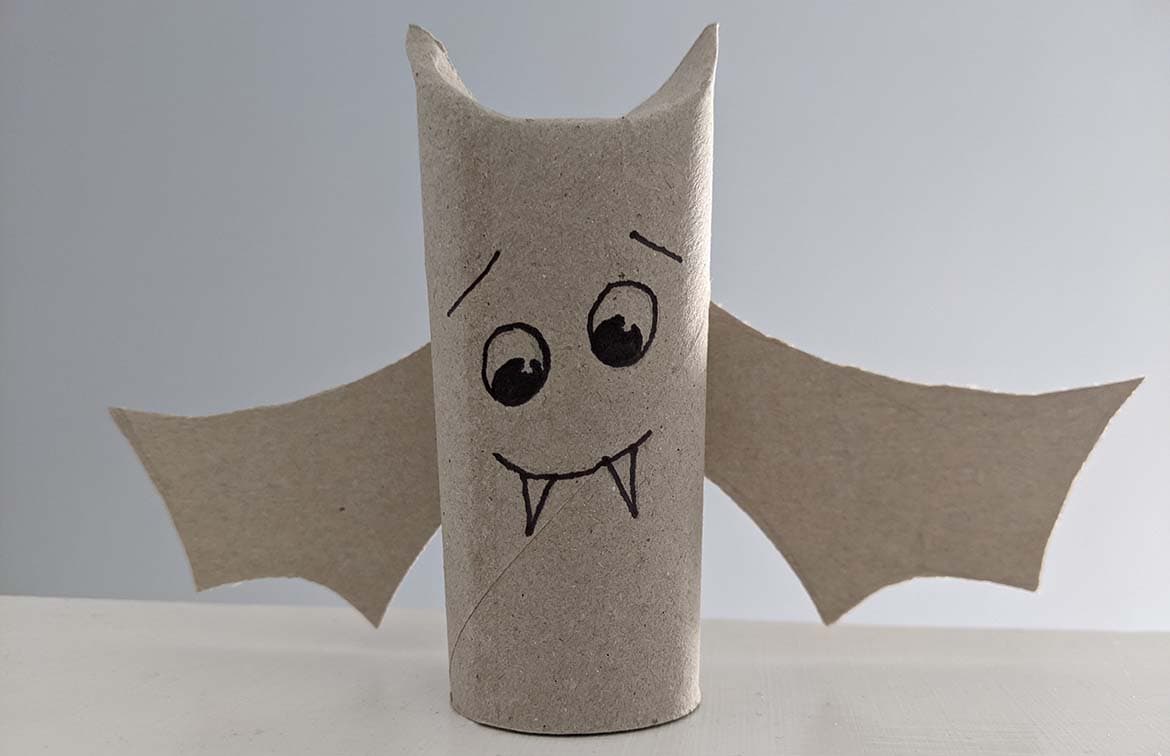
Toilet roll tube bats
If you can get your hands on a few toilet roll tubes, then these look great tied with string and dangling in the window. Just cut two wing shapes out of spare cardboard (a cereal box or cardboard packaging is perfect), attach them to a toilet roll tube, squeeze the top to create the ears and draw on some eyes and fangs.

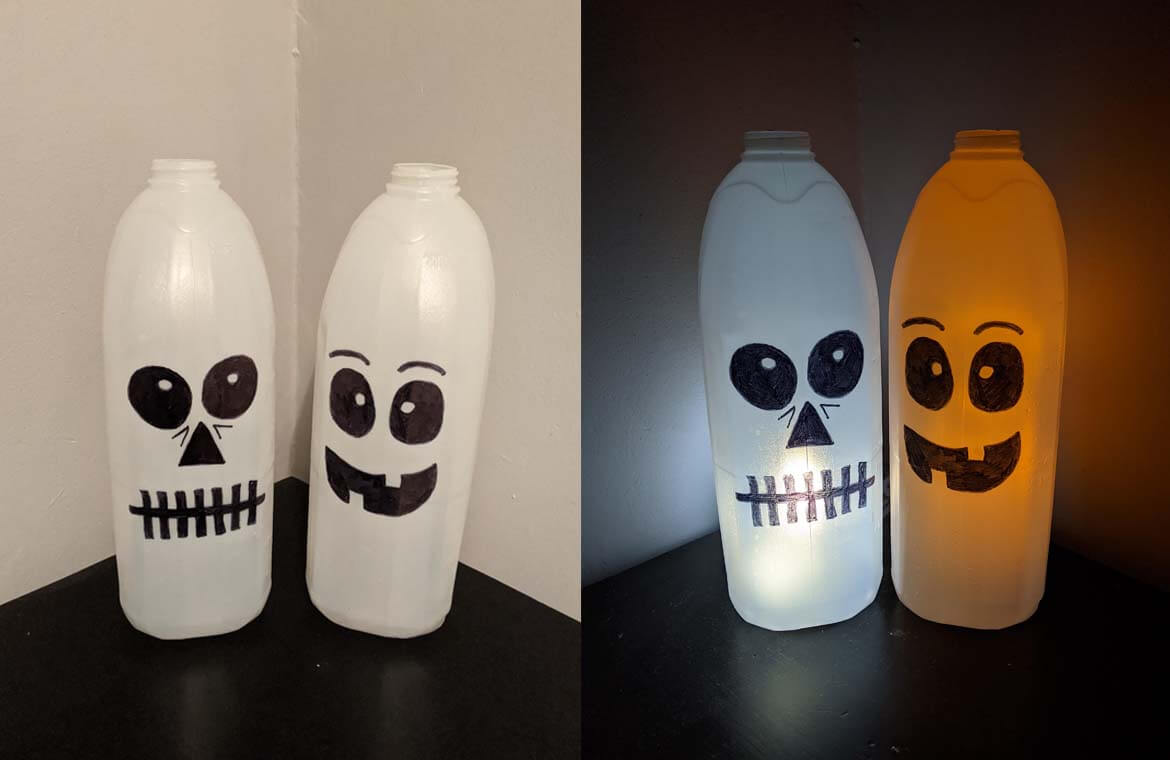
Monstrous milk bottles
With seven out of ten of the pumpkins carved for Halloween not getting eaten, these milk bottle monsters make a great food-waste free alternative.
Just give your empty milk bottles a good rinse out and leave to dry. Next, use a marker pen to draw on a ghoulish face then using a craft knife cut a flap in the back of the bottle big enough to fit in a torch or flameless candle to bring your monster to life.
If you’re going for a real pumpkin then stick to carving them as painted and decorated pumpkins can’t be composted or put into your food waste caddy.
Milk bottle monsters make a great food-waste free alternative to pumpkins. Draw on a ghoulish face and cut a flap in the back of the bottle to fit in a torch or flameless candle #WasteLessHalloween
Share on

Scrap paper spider
Remember making paper snowflakes? This is the spookier version. Fold a square piece of scrap paper using the instructions in this YouTube video to make your spider’s web.
Cut four lengths of yarn long enough to give your spider his eight legs on either side and attach to a bottle cap using a certain blue reusable adhesive (other colours are available). Finish off by drawing on some eyes or using the googly variety.
Decorative witch's hat
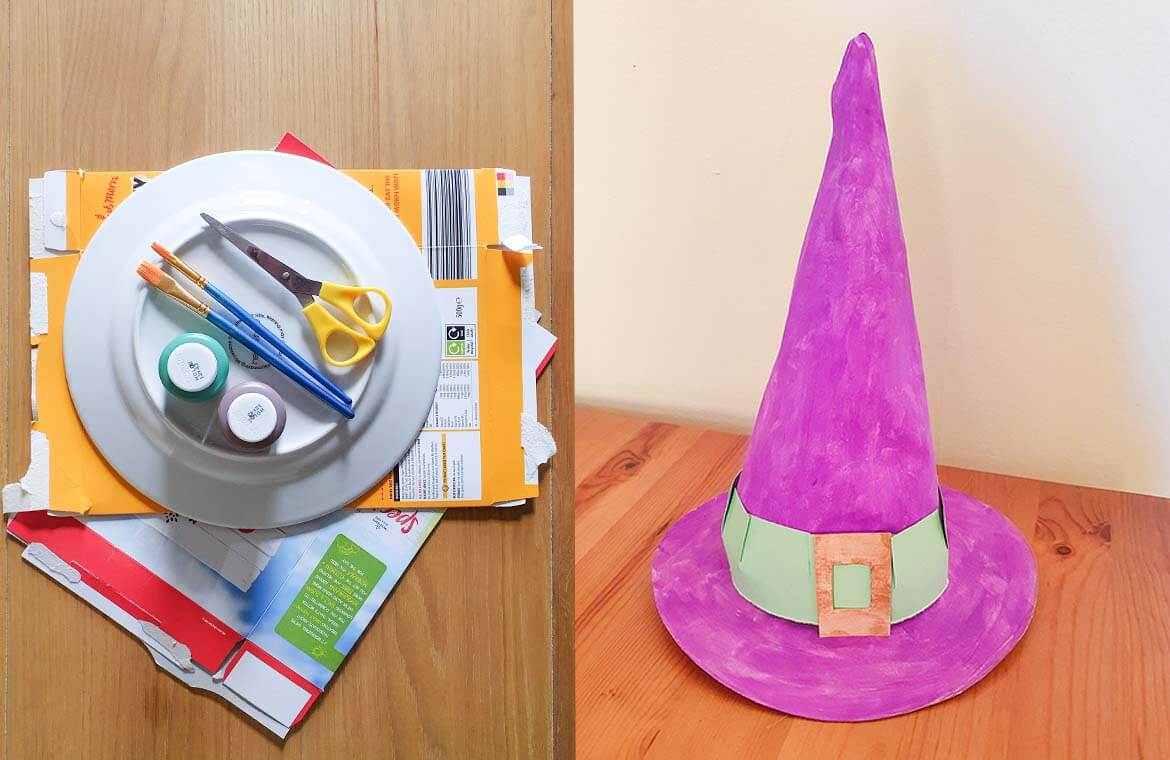
If you’re looking for some extra creepiness for your windows or perhaps a doorstep decoration, try a witch’s hat! All you need is some cereal boxes and a little creativity.
Using a small plate or bowl draw out a circle and cut out to make the base of your witch’s hat. To make your cone shape, use a larger plate but this time draw a semi-circle on your card and cut. Roll the semi-circle to join the edges and attach together.
For a quick tutorial on making a cone you can check out this helpful resource. If you’re finding card a little tricky, swap to paper. Paint in spooky Halloween colours to finish. You can also use strips of card or paper to add a belt and buckle to your cackle-worthy creation.


